peter (admin) -

Creating, Stopping, Switching, and Deleting Minikube Clusters
In this section, we will learn how to create a Kubernetes cluster when we need it, stop it safely, restart it, work with multiple Minikube clusters, switch between them, and delete them when they are no longer required.
This is useful when practising Kubernetes locally because Minikube makes it easy to create several independent cluster environments on the same machine.
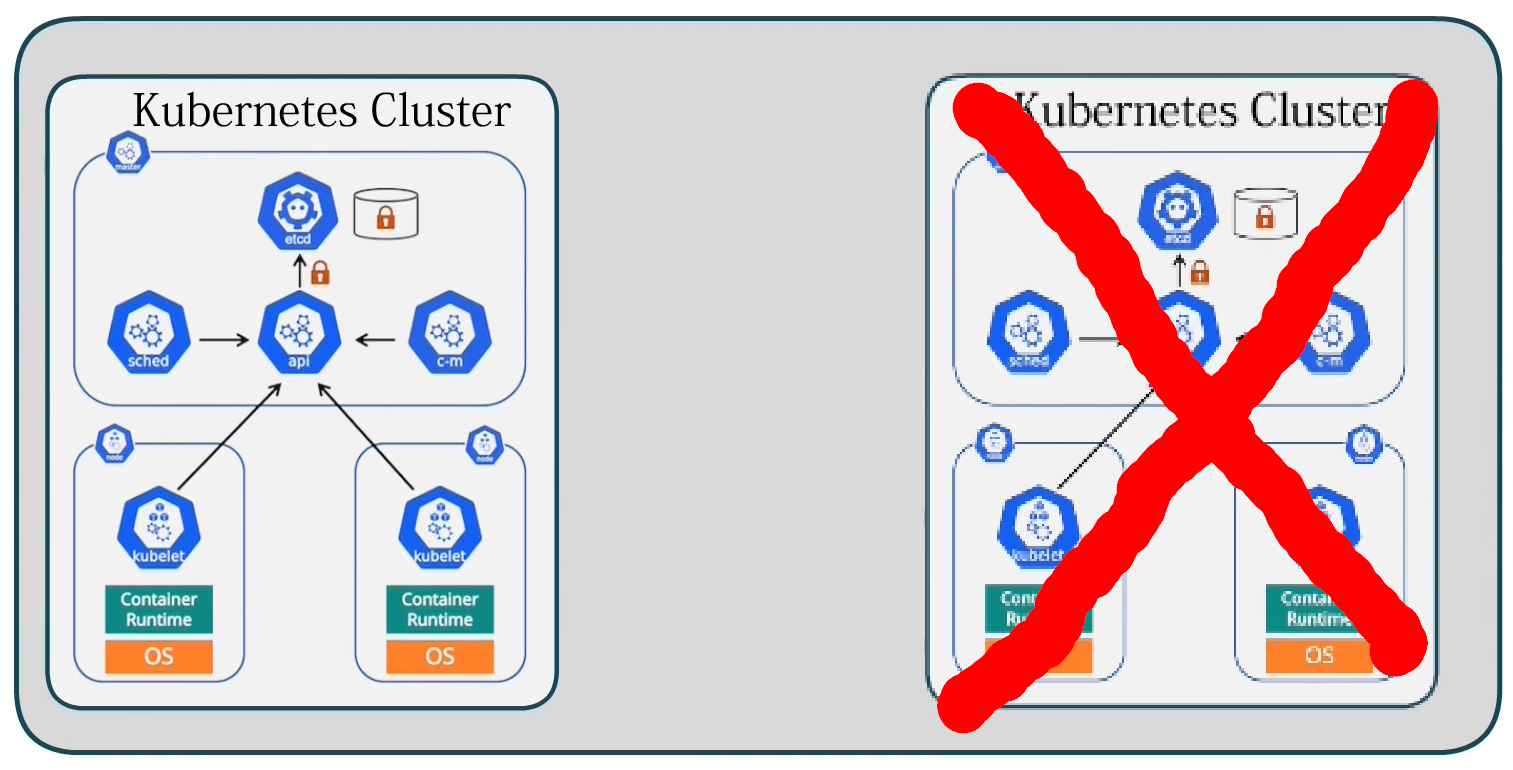
Stop a Minikube Cluster
To stop the currently active Minikube cluster, run:
minikube stop
Minikube shuts down the cluster safely.
The important point is that stopping the cluster does not delete it.
Your Kubernetes resources, configuration, and Minikube profile are still stored locally.
You can think of it like turning off a computer rather than formatting its disk.
The cluster still exists, but it is no longer running.
Start the Cluster Again
To restart the cluster using Docker as the driver, run:
minikube start --driver=docker
If the Minikube profile already exists, Minikube normally reuses the existing environment instead of creating everything from scratch.
It starts the node again and brings the Kubernetes components back online.
This includes components such as:
-
API server
-
Scheduler
-
Controller manager
-
etcd
-
kubelet
-
CoreDNS
Once startup is complete, the cluster is ready to use again.
Stop vs Delete
It is important to understand the difference between:
minikube stop
and:
minikube delete
minikube stop temporarily shuts down the cluster.
minikube delete removes the cluster completely.
The difference can be summarized as:
minikube stop
      |
      v
Cluster stopped
Data retained
Can be restarted


minikube delete
      |
      v
Cluster removed
Cluster data deleted
Must be recreated
Delete a Minikube Cluster
To completely remove the active Minikube cluster, run:
minikube delete
Minikube removes the resources associated with that profile.
When using the Docker driver, this can include:
-
Minikube Docker containers
-
Kubernetes cluster configuration
-
Profile information
-
Local Minikube data associated with the cluster
The Pods, Deployments, Services, and other resources stored inside that cluster are also removed.
You should therefore use minikube delete only when you no longer need the cluster.
Creating Multiple Minikube Clusters
Minikube supports multiple independent clusters through profiles.
By default, running:
minikube start --driver=docker
creates or starts a profile called:
minikube
We can create another cluster by giving it a different profile name.
For example:
minikube start -p lab1 --driver=docker
The -p option means:
--profile
This creates a separate Minikube profile called:
lab1
We now have two independent clusters:
minikube
lab1
Create a Third Cluster
We can create another profile called lab2:
minikube start -p lab2 --driver=docker
We now have:
minikube
lab1
lab2
Each profile represents its own Kubernetes cluster.
A simplified view looks like this:
Linux Host
    |
    v
Docker
    |
    +---------------------------+
    |             |             |
    v             v             v
minikube         lab1          lab2
    |             |             |
    v             v             v
Kubernetes     Kubernetes    Kubernetes
Cluster        Cluster       Cluster
Each cluster has its own:
-
Kubernetes control plane
-
Cluster state
-
Pods
-
Deployments
-
Services
-
kubeconfig context
-
Network configuration
They are managed separately even though they run on the same host.
List Minikube Profiles
To see all Minikube profiles, run:
minikube profile list
You may see a table similar to:
| Profile  | Driver | Runtime | IP           | Version | Status |
|----------|--------|---------|--------------|---------|--------|
| minikube | docker | docker  | 192.168.x.x  | ...     | OK     |
| lab1     | docker | docker  | 192.168.x.x  | ...     | OK     |
| lab2     | docker | docker  | 192.168.x.x  | ...     | OK     |
The exact output depends on your Minikube version.
Understanding the Profile List
The Profile column shows the names of the Minikube clusters.
For example:
minikube
lab1
lab2
The Driver column tells us which Minikube driver each profile uses.
For example:
docker
The Runtime column identifies the container runtime used inside the Minikube environment.
The IP column shows the internal address assigned to each cluster.
Different profiles normally have different internal addresses.
The Version column shows the Kubernetes version.
The Status column tells us whether the cluster is running correctly.
Active Minikube Profile
Minikube can keep track of an active profile.
You can select a profile with:
minikube profile lab1
After this, Minikube commands that do not explicitly include -p will normally target the selected profile.
For example:
minikube status
will refer to lab1 if lab1 is the active profile.
Similarly:
minikube stop
will stop the active Minikube profile.
Minikube Profile vs kubectl Context
This is an important distinction.
The Minikube profile determines which Minikube cluster Minikube commands operate on.
The kubectl context determines which Kubernetes cluster kubectl communicates with.
They are related, but they are not exactly the same setting.
You can check the current Minikube profile with:
minikube profile
You can check the current kubectl context with:
kubectl config current-context
When working with multiple clusters, it is good practice to verify both.
List kubectl Contexts
Run:
kubectl config get-contexts
You may see something similar to:
CURRENT   NAME       CLUSTER    AUTHINFO
          minikube   minikube   minikube
*         lab1       lab1       lab1
          lab2       lab2       lab2
The * indicates the context kubectl is currently using.
In this example, kubectl is communicating with:
lab1
Switch kubectl to lab1
To explicitly switch kubectl to the lab1 cluster, run:
kubectl config use-context lab1
Then verify it:
kubectl config current-context
You should see:
lab1
Now commands such as:
kubectl get nodes
will query the lab1 Kubernetes cluster.
Why Checking the Context Matters
When several clusters exist, always check which cluster kubectl is connected to before making changes.
For example:
kubectl config current-context
is a useful command to run before performing operations such as:
kubectl delete deployment my-app
or:
kubectl apply -f deployment.yaml
This helps avoid modifying the wrong Kubernetes environment.
Working with a Specific Minikube Profile
You do not always need to change the active Minikube profile.
You can target a particular profile directly using:
-p
For example, check lab2:
minikube status -p lab2
Stop lab2:
minikube stop -p lab2
Start lab2:
minikube start -p lab2
This is often safer when you have several profiles because the command clearly identifies which cluster you are working with.
Delete the lab2 Cluster
To delete only the lab2 cluster, run:
minikube delete -p lab2
Minikube removes the profile and its associated cluster resources.
The other clusters are not affected.
For example:
Before
------
minikube
lab1
lab2


minikube delete -p lab2


After
-----
minikube
lab1
Delete the lab1 Cluster
We can remove lab1 in the same way:
minikube delete -p lab1
After deleting both lab1 and lab2, only the original minikube profile should remain.
Verify this with:
minikube profile list
You should now see only:
minikube
Check kubectl After Deleting a Cluster
If you delete a cluster that kubectl was previously using, it is a good idea to check the current context manually.
Run:
kubectl config current-context
Then list the available contexts:
kubectl config get-contexts
If necessary, switch back to the remaining cluster:
kubectl config use-context minikube
This is safer than assuming that kubectl has automatically switched to the cluster you want.
Set Minikube Back to the Default Profile
You can also explicitly select the default Minikube profile:
minikube profile minikube
Then verify it:
minikube profile
The output should be:
minikube
Now Minikube commands without -p will operate on the default profile.
Check the Remaining Cluster
Verify the remaining cluster with:
minikube status
Then check kubectl:
kubectl config current-context
Check the node:
kubectl get nodes
If the cluster is running correctly, the node should show:
Ready
Complete Multiple-Cluster Example
The complete process can be represented as:
Create default cluster
        |
        v
    minikube
        |
        +--------------------+
        |
Create lab1
        |
        v
      lab1
        |
        +--------------------+
        |
Create lab2
        |
        v
      lab2
We now have:
minikube
lab1
lab2
Then:
Delete lab2
    |
    v
minikube
lab1
Then:
Delete lab1
    |
    v
minikube
This allows us to create temporary Kubernetes environments for experiments without affecting our main Minikube cluster.
Useful Commands
Stop the active cluster:
minikube stop
Start the default cluster:
minikube start --driver=docker
Delete the active/default profile:
minikube delete
Create another cluster:
minikube start -p lab1 --driver=docker
Create a third cluster:
minikube start -p lab2 --driver=docker
List profiles:
minikube profile list
Select a Minikube profile:
minikube profile lab1
Check the active profile:
minikube profile
List kubectl contexts:
kubectl config get-contexts
Check the current kubectl context:
kubectl config current-context
Switch kubectl context:
kubectl config use-context lab1
Delete a specific profile:
minikube delete -p lab2
Key Points
Minikube makes it easy to create and manage several Kubernetes learning environments on a single machine.
The most important concepts to remember are:
-
minikube stopshuts down a cluster but keeps its data. -
minikube startstarts an existing cluster again. -
minikube deletepermanently removes a cluster profile. -
-pallows you to work with a specific Minikube profile. -
Multiple Minikube profiles can exist on the same host.
-
Each profile represents an independent Kubernetes cluster.
-
The Minikube active profile and kubectl current context are related but separate settings.
-
kubectl config current-contextshould be checked before making important changes. -
minikube profile listshows the clusters currently available.
A good habit when working with multiple clusters is:
Check Minikube profile
        |
        v
Check kubectl context
        |
        v
Confirm cluster
        |
        v
Run commands
This makes it much less likely that you will accidentally stop, delete, or modify the wrong Kubernetes cluster.
Comments (0)
There are no comments yet. Be the first to comment.
Log in or register to leave a comment. all comments are subject to admin approval