peter (admin) -

Virtual Machine Installation
Kubernetes should work with most mainstream Linux distros. I've chosen to use the latest LTS version of Ubuntu, currently 26.04. If you use CentOS, Alpine or some other rpm based distro you will need to change some of the commands to accomodate your distro.
Obtaining the ISO file
So point your web browser to https://ubuntu.com/download/server and click the download button. The download should begin automatically and may take a few minutes depending on your internet speed
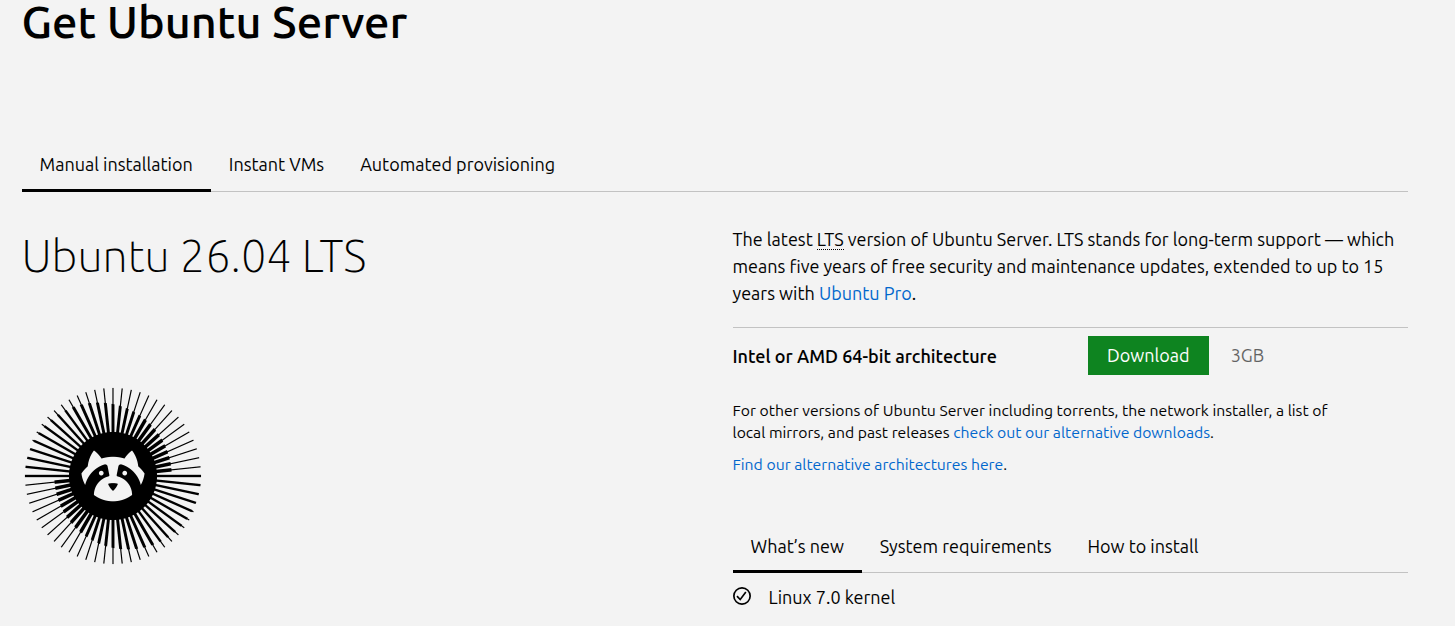
Set up the VM in VirtualBox
First start Vitrualbox on your host machine then click 'New' to open the new VM dialogue, then choose the Ubuntu iso file you previously downloaded, ensure the OS Type is set to Ubuntu 64 bit and untick the unattended install box.
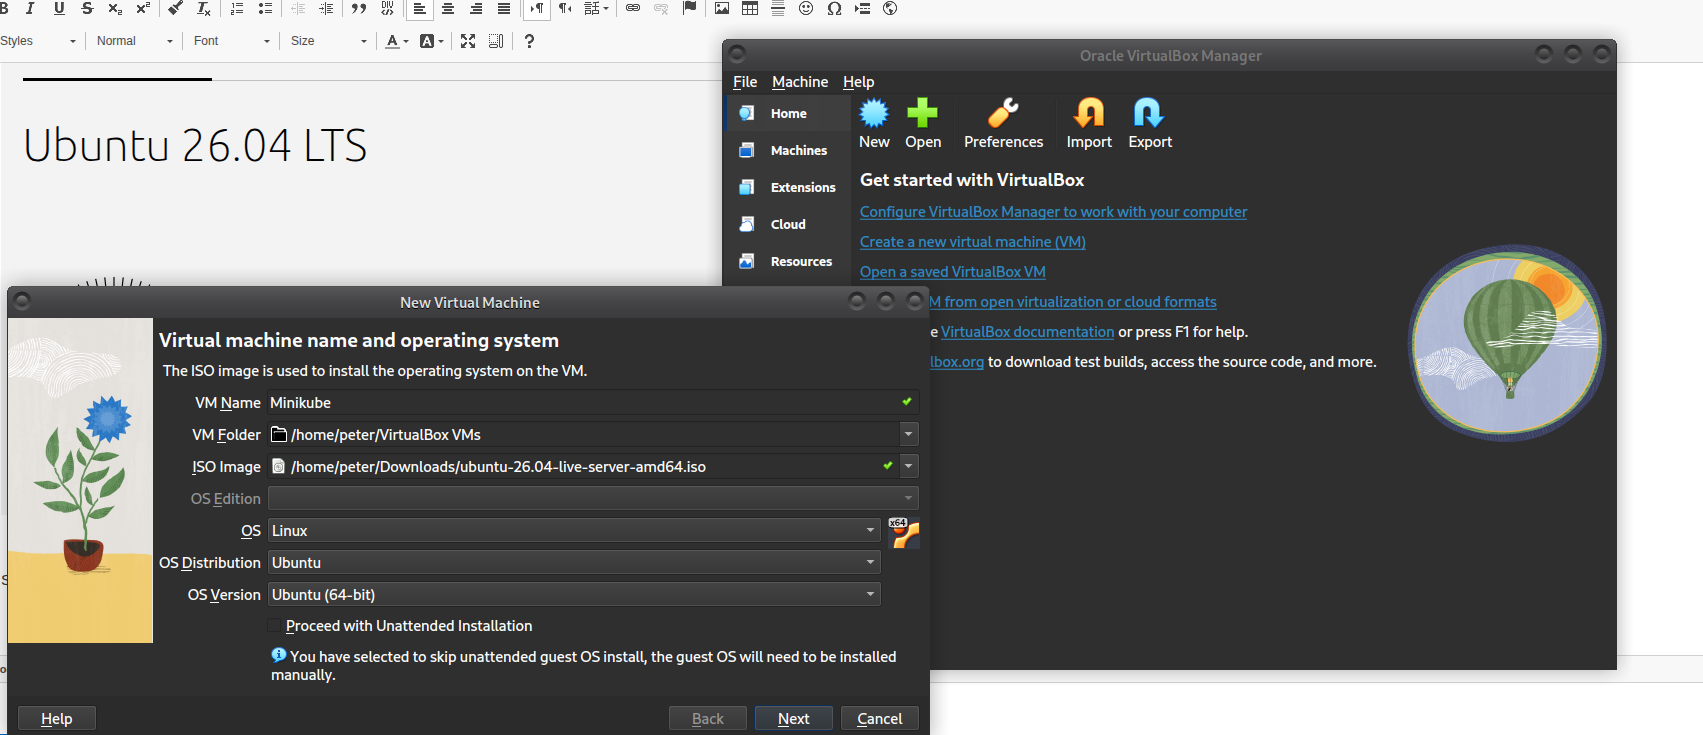
Click next then on the next screen choose the anount of memory and CPU cores to assign. Ideally you'd want at least 4GB of RAM and 2 vCPU cores
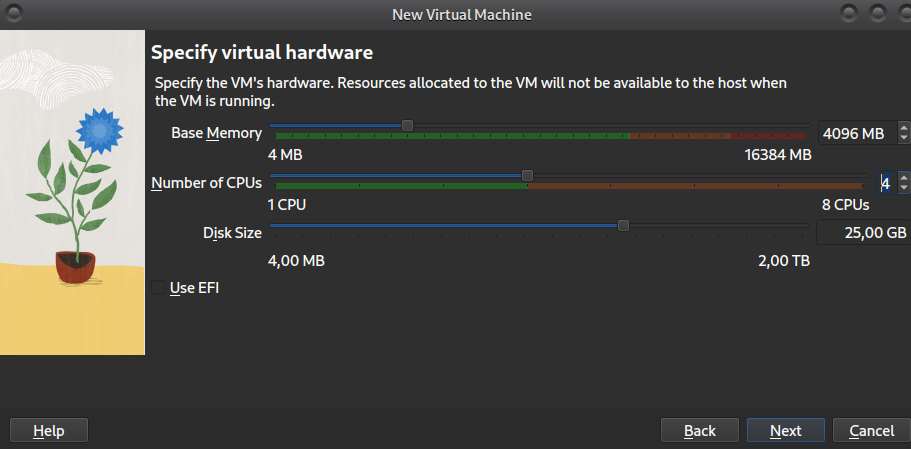
Click next then finish to create the VM.
By default VitualBox uses NAT for the network adapter type so it shares the host ip address, I prever to use a bridged network so the VM is assigned it's own unique IP address on the network.
So, click on 'Settings' then click network and choose 'Bridged Adapter (this part is optional)
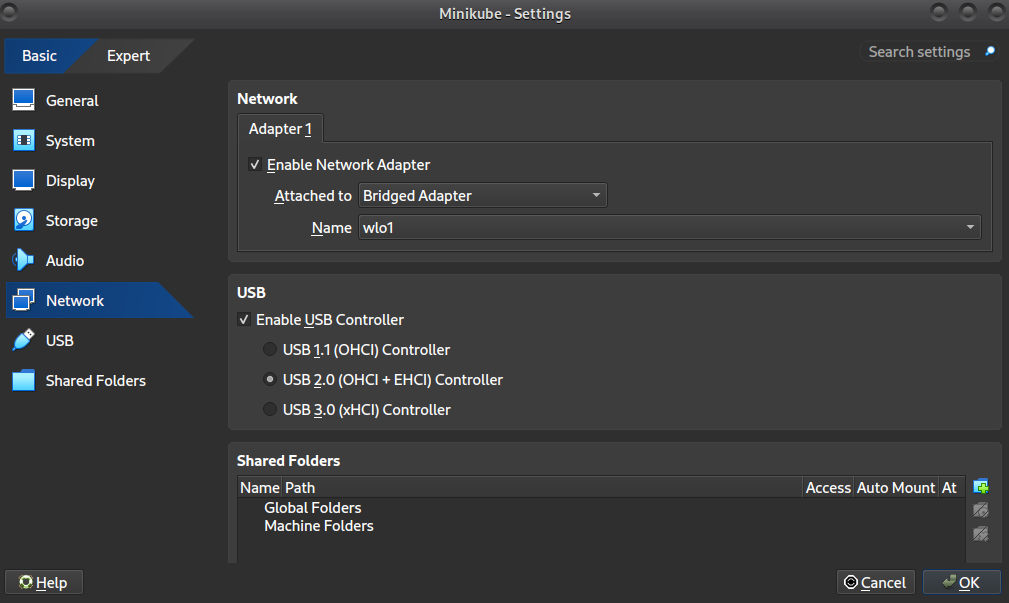
Now Click ok and Finish then the VM is created. Now we can start the VM and perform the Ubuntu installation
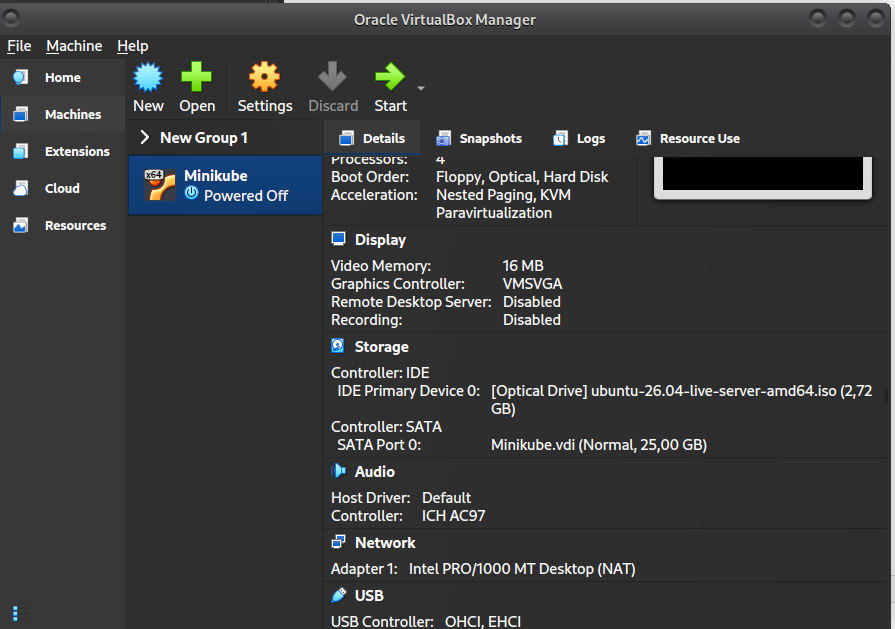
Installation and Configuration
Once you start the VM, eventually you are presented with the lanuage screen, select your language or simply hit enter to accept the default (English). Also on the next screen hit enter to accept the autodetected keyboard.
This will take you to the screen below.
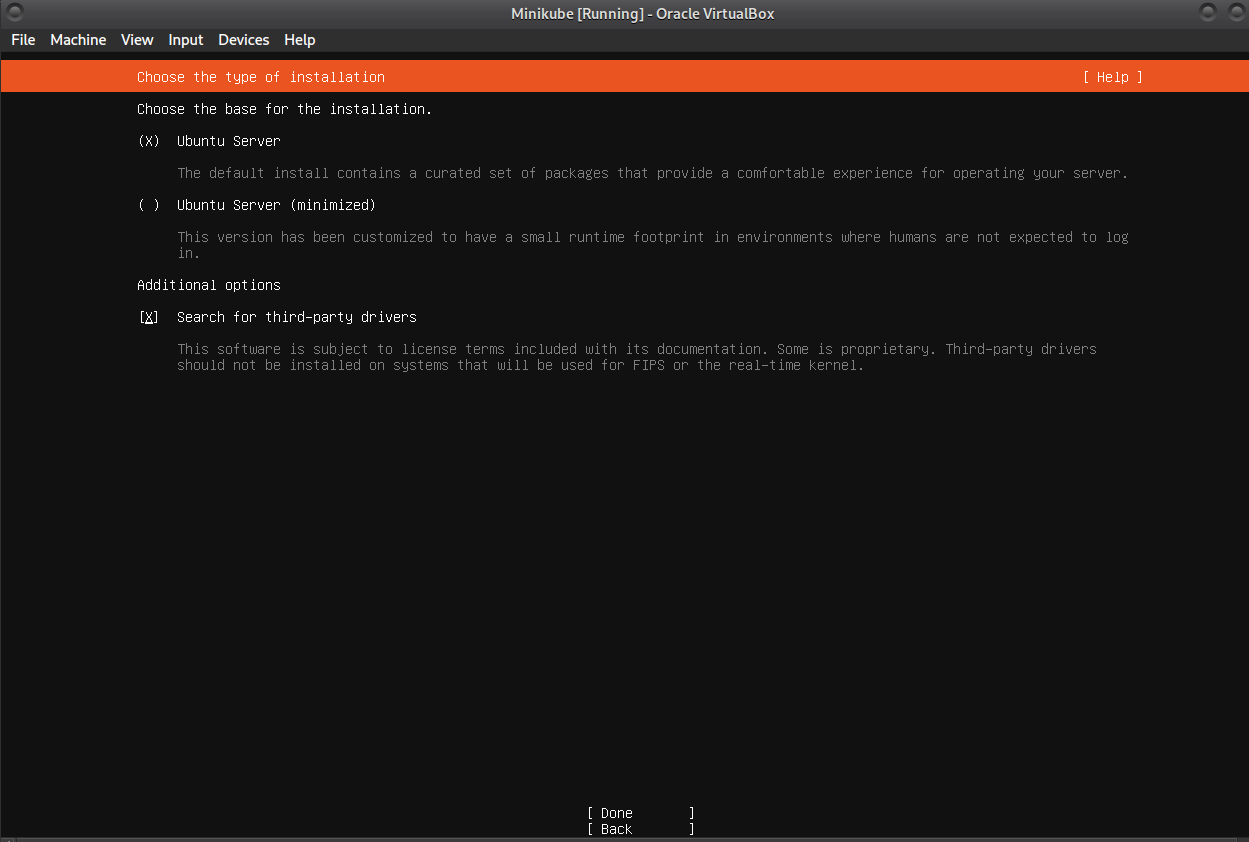
Use the tab key to select Default Ubuntu and tick 'Check for 3rd party drivers' in case you have hardware that needs them
Next you see the network configuration page, hit enter, then hit enter angain to accept the default proxy settings. Now you will see the mirror list hit enter then on the storage screen tab down to 'done' to accept the default. Now click 'done' agan to confrim then click 'continue'
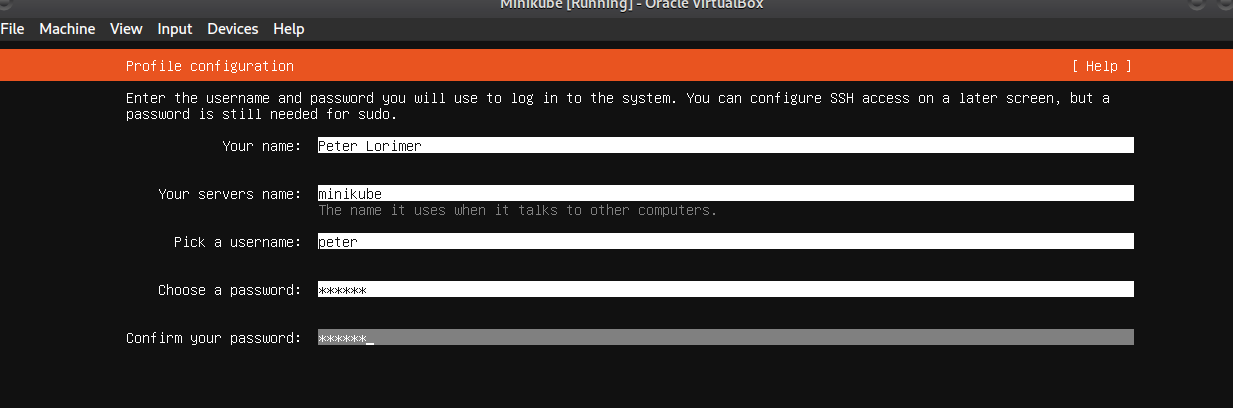
Now give your VM a hostname and set up a user account as seen below
You'll be prompted to upgrade to Ubuntu Pro, skip that part because it will want you to sign up for a subscription.
If you have an option to install openssh-server, enable it. Next you are presented with a list of snaps to install. Don't install any of them, you can always do it later if you need to. Once you click next the installation process will begin.
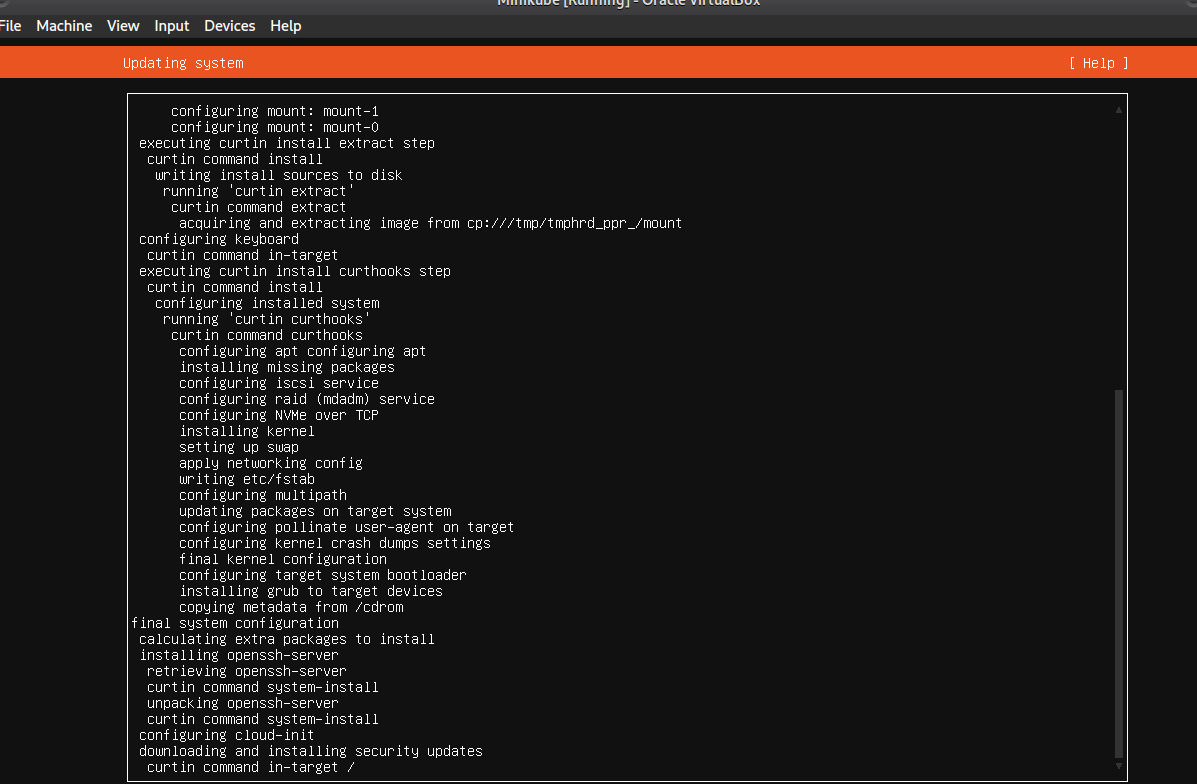
Once this completes you can reboot. Now you can log in wwith your username an password.
This last step is important because the VM console is restrictive and wont support scrolling or copy/paste. Once logged in enter this command to get your ip address
ip -4 addr
1: lo: mtu 65536 qdisc noqueue state UNKNOWN group default qlen 1000

    inet 127.0.0.1/8 scope host lo

       valid_lft forever preferred_lft forever

2: enp0s3: mtu 1500 qdisc pfifo_fast state UP group default qlen 1000

    altname enx080027708846

    inet 192.168.2.207/24 metric 100 brd 192.168.2.255 scope global dynamic enp0s3

       valid_lft 85697sec preferred_lft 85697sec
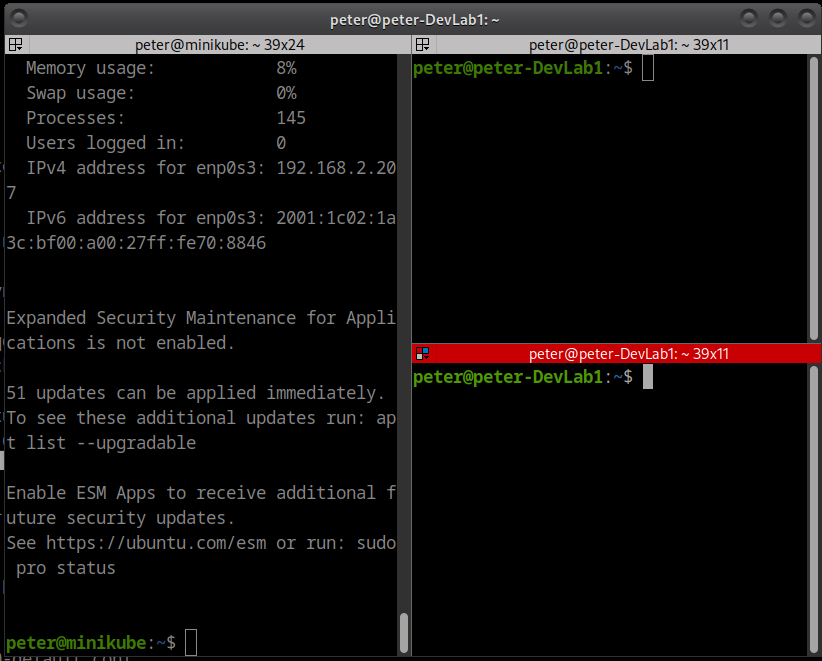
You can see from this, my ip address is 192.168.2.207 so I can now log in to it with my favorite ssh client, the most popular Windows client it Putty, I use Terminator because my OS is Debian
Now that we have a default Ubuntu installation we should export it as a virtual appliance which we can use later on to quickly create more identical VMs.
Go onto the main VirtualBox window and ensure your machine is powered off then from the file menu choose "export appliance" then choose your machine and leave all other settings on their default values. This will create a file called minikube.ova which we can later use as a template to import copies from
Comments (0)
There are no comments yet. Be the first to comment.
Log in or register to leave a comment. all comments are subject to admin approval