peter (admin) -

Getting Started with Hands-On Kubernetes Practice
We have learned about Kubernetes concepts and architecture in detail, and now it is time to move towards practical, hands-on experience.
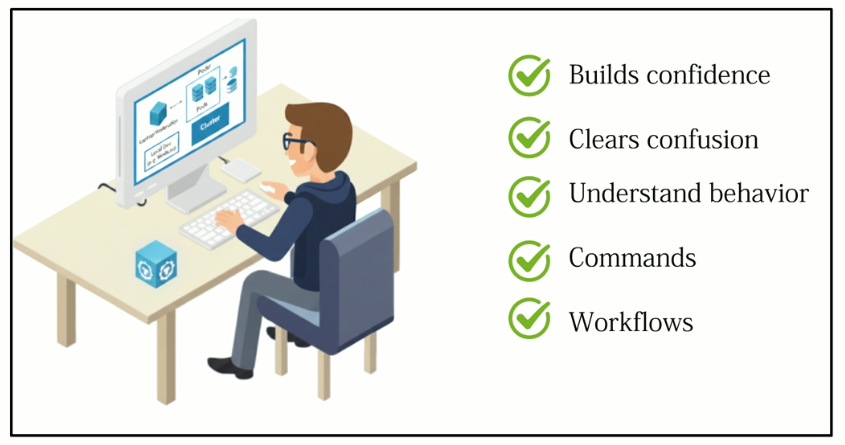
Before starting practical work, it is important to understand how Kubernetes can be practiced locally. Learning on a local system allows you to build confidence, experiment with commands, and understand Kubernetes behaviour before moving on to larger or production environments.
Kubernetes is designed to operate across multiple servers, but for learning, development, and testing purposes, it can also be run on a single computer.
A local environment allows us to explore Kubernetes commands, resources, behaviour, and workflows without requiring a complete data centre or cloud infrastructure.
Two useful tools for learning these different approaches are Minikube and kubeadm.
What Is Minikube?
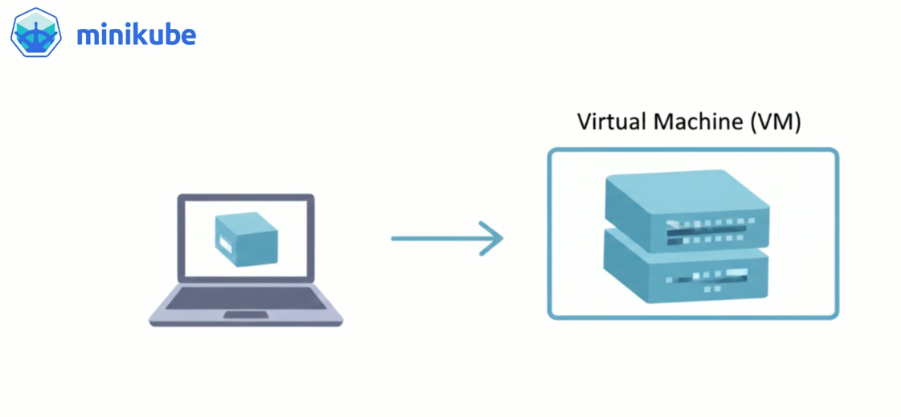 Minikube is a tool designed specifically for running Kubernetes locally.
It creates a small Kubernetes cluster on your computer using a supported driver such as Docker or a virtual machine.
Minikube handles much of the underlying setup automatically, allowing you to concentrate on learning Kubernetes rather than spending time configuring the infrastructure.
When Minikube starts a cluster, it automatically configures the Kubernetes components required to create a working environment.
This makes Minikube particularly useful for beginners because a Kubernetes environment can be created quickly and many common Kubernetes features are available with minimal configuration.
Minikube is ideal for practising concepts such as:
-
Pods
-
Deployments
-
Services
-
ConfigMaps
-
Secrets
-
Namespaces
-
Scaling
-
Storage
-
Basic networking
-
Troubleshooting
A Minikube environment can therefore be used to learn most of the Kubernetes commands and concepts that will later be used with larger clusters.
How Minikube Works
A typical Minikube environment can be represented simply as:
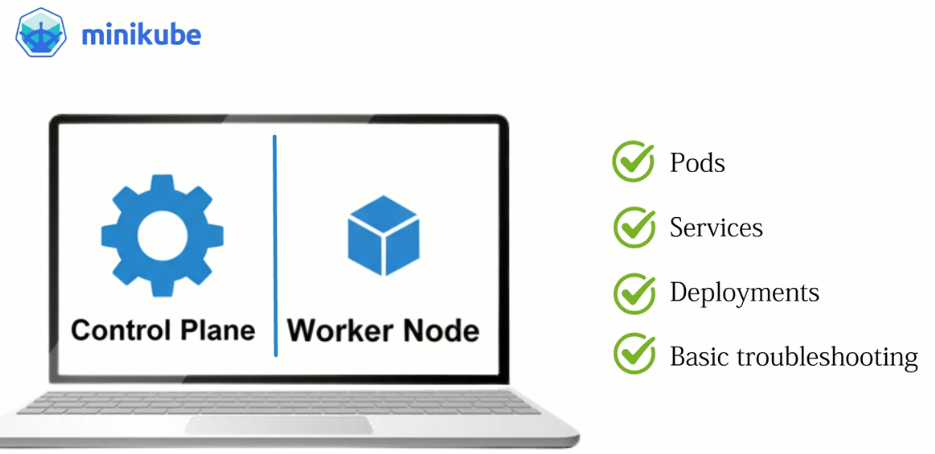 Your Computer
|
v
Minikube
|
v
Kubernetes Cluster
|
+---+---+
| |
Control Worker
Plane Components
Although everything may be running on one physical computer, Kubernetes still provides the environment required to practise working with cluster resources.
For example, once Minikube is running, you can use standard Kubernetes commands such as:
kubectl get nodes
kubectl get pods
kubectl get services
The commands and Kubernetes resources you learn with Minikube are largely the same ones you will encounter when working with larger Kubernetes environments.
What Is kubeadm?
kubeadm takes a different approach.
While Minikube is designed to make running Kubernetes locally simple, kubeadm is a tool for bootstrapping Kubernetes clusters.
It provides a much more realistic view of how Kubernetes nodes are configured and joined together.
kubeadm does not hide as much of the underlying cluster setup.
Instead, it exposes important parts of the Kubernetes installation and initialization process.
This makes kubeadm particularly valuable when you want to understand how a Kubernetes cluster is actually constructed.
Building a Cluster with kubeadm
When creating a Kubernetes cluster with kubeadm, several parts of the environment must be prepared.
This can include:
-
Preparing the operating system
-
Configuring networking requirements
-
Installing a container runtime
-
Installing kubelet
-
Installing kubeadm
-
Installing kubectl
-
Initializing the control plane
-
Installing a Container Network Interface (CNI)
-
Joining worker nodes to the cluster
The control-plane node is normally initialized using a command based around:
sudo kubeadm init
After initialization, kubeadm generates information that can be used to join worker nodes to the cluster.
A worker is typically joined using a command similar to:
sudo kubeadm join :6443
    --token
    --discovery-token-ca-cert-hash
The exact values are generated for your cluster.
Understanding the kubeadm Cluster
A simple kubeadm cluster might look like this:
              Control Plane
                    |
              Kubernetes API
                    |
          +---------+---------+
          |                   |
          v                   v
      Worker Node 1       Worker Node 2
          |                   |
       Kubelet             Kubelet
          |                   |
          v                   v
        Pods                 Pods
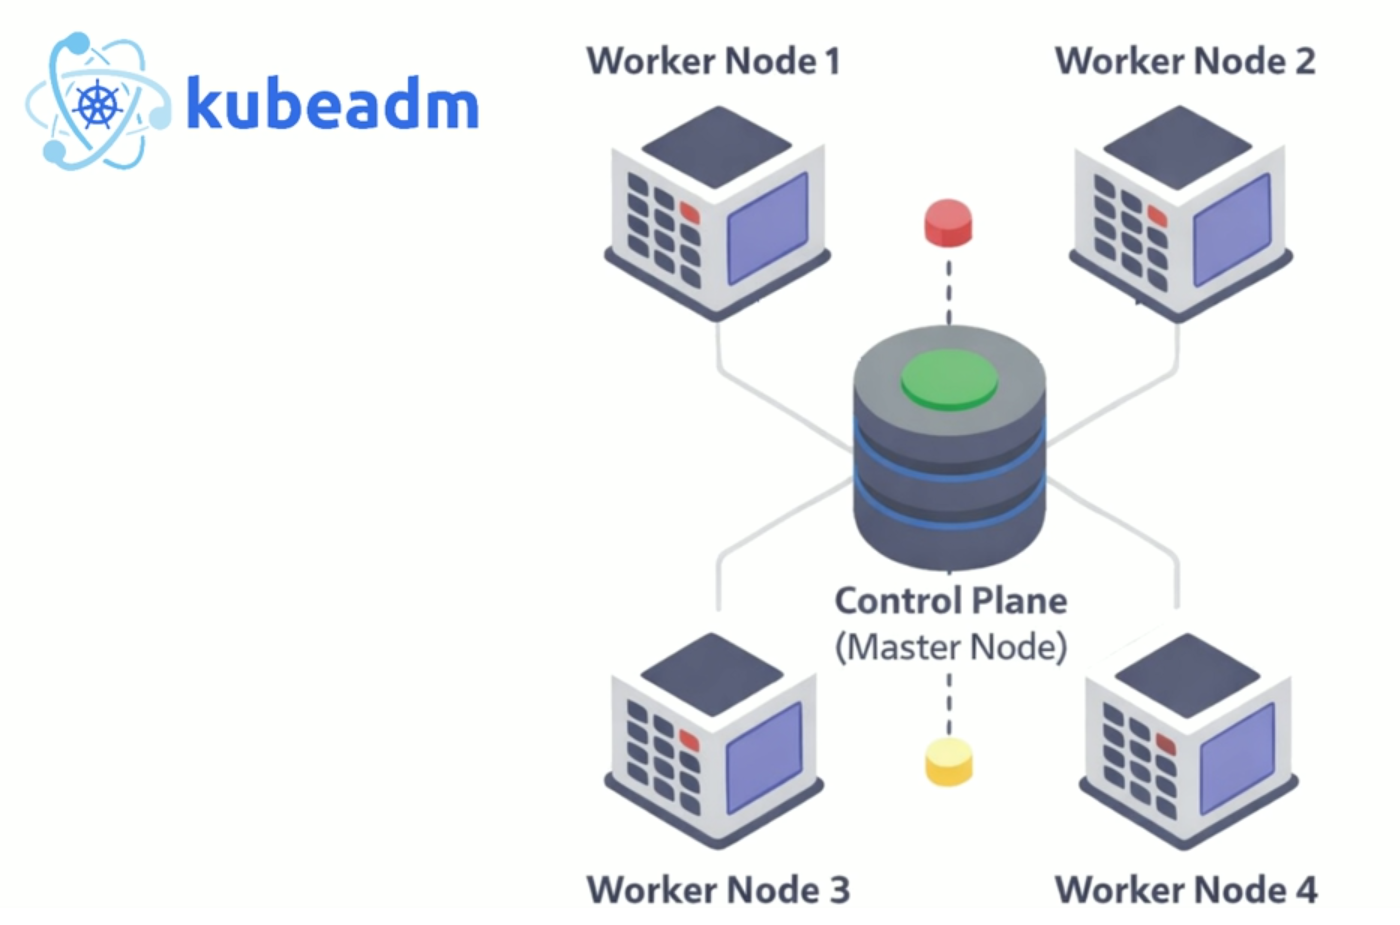
Unlike a simple local Minikube environment, this setup allows us to see much more clearly how individual Kubernetes machines communicate.
It also provides practical experience with control-plane nodes, worker nodes, networking, kubelet, container runtimes, and cluster initialization.
Minikube vs kubeadm
Minikube and kubeadm are both useful for learning Kubernetes, but they serve different purposes.
| Minikube | kubeadm |
|---|---|
| Designed primarily for local Kubernetes | Designed to bootstrap Kubernetes clusters |
| Quick to configure | Requires more configuration |
| Hides much of the infrastructure complexity | Exposes more of the cluster setup |
| Excellent for beginners | Better for deeper operational learning |
| Ideal for application practice | Ideal for learning cluster administration |
| Usually runs locally | Can create multi-node clusters |
Neither tool replaces the other when learning Kubernetes.
Instead, they complement each other.
Why We Will Use Both
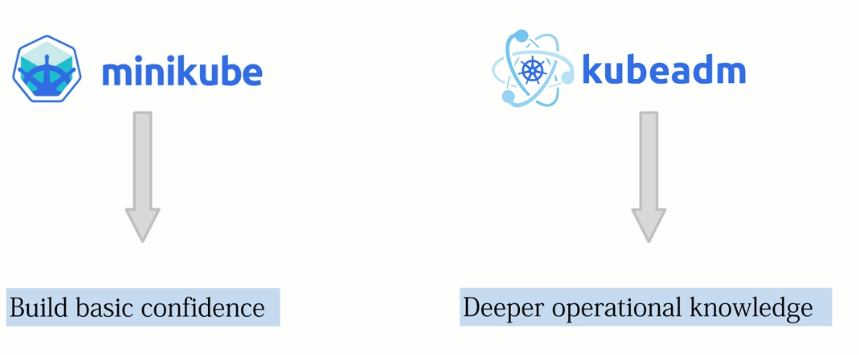
In this course, we will use both Minikube and kubeadm to develop a broader understanding of Kubernetes.
Minikube allows us to begin quickly.
We can concentrate on learning how to create Pods, Deployments, Services, and other Kubernetes resources without first having to build an entire cluster manually.
Once these basic concepts become familiar, kubeadm allows us to go deeper.
Using kubeadm helps us understand how control-plane and worker nodes are configured, how nodes join a cluster, how Kubernetes networking is installed, and how the different components communicate.
The learning path therefore becomes:
Kubernetes Theory
       |
       v
    Minikube
       |
       v
Basic Hands-On Practice
       |
       v
    kubeadm
       |
       v
Multi-Node Cluster
       |
       v
Deeper Kubernetes Knowledge
From Theory to Practice
Understanding Kubernetes architecture gives us the foundation, but actually working with a cluster is where many of the concepts begin to make much more sense.
With Minikube, we can quickly experiment with Kubernetes resources and commands.
With kubeadm, we can explore how a Kubernetes cluster is constructed and understand what happens behind the scenes.
Together, these tools provide a strong bridge between Kubernetes theory and real-world Kubernetes administration.
Now that we understand the purpose of Minikube and kubeadm, we are ready to begin working with Kubernetes directly and start putting the concepts we have learned into practice.
Comments (0)
There are no comments yet. Be the first to comment.
Log in or register to leave a comment. all comments are subject to admin approval